

So... I really don't need a name to be able to distinguish it from other models. But who cares, I'm gonna give it a title anyway.
I've decided to go with Sacchetto (Solo bag in Italian).
.


First I need to make brackets for the bag because the Vinyl I've used is fairly light. And because it's a solo, there's no straps connecting to a second bag that you could simply sling across the rear fender.
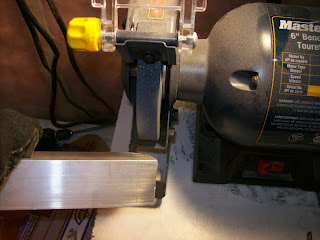
Two aluminum pieces about 11 inches long and 1 & 1/2 inches wide will do. I'll just split this 'L' piece.

I'll drill four holes, spaced evenly apart (I bought the nuts, bolts and washers before I began the installation).

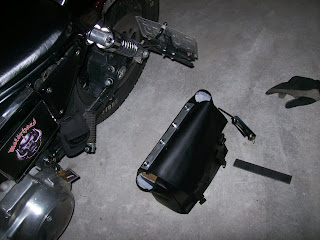
I'll attach them along the top of the back of the bag, and inside it, just underneath the front flap.

Perfect fit. I also put in a light cardboard liner to maintain the bags shape and holds it's form while riding (you wouldn't need it if it were a leather bag).
Now... where do I mount it?

After trial and error and a few mock ups, I found it attached nicely to the top shock bolt and fit in the space in front of the license plate. I figured I'd be able to bolt it to the fender strut (using existing bolts) and that means I'll need to make at least one bracket.

Here's the crude, beaten up piece of shizzle I managed to shape by banging a piece of flat steel over a sledge hammer.

I ain't got no anvil... at least not in the garage. But I got Anvil in the stereo cabinet! It's all about the metal \M/ dude!

Back the Saccheto. This should work just fine.

A little grindn' (I should paint it but that's another job for the winter) and I'll slap her on.
 Here's a little tip.
Don't grind & cut metal wearing shorts and flip flips (I was out for dinner with the ol' lady before I began workin'). Them metal filings & shards are freakin' hot man!

(click on pic to enlarge)
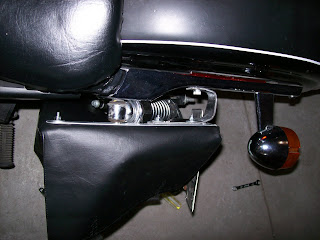
The bracket is on, so let's attempt a dry fit. That's the top shock nut on the bracket.

Here's a top view.

And I'll step back for a better view.

Let's righty tighten er' and call her a night.

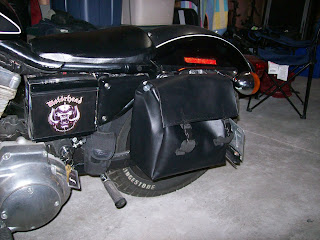
That's a sacchetto any Italian leather master craftsman would.... freakin' laugh at!

Oh well, I thinks it's the fizzle shizzle ma nizzel!
Ace ♠


No comments:
Post a Comment